Draw Live Drop Shadow Lettering in Illustrator
This is a nifty trick that makes doodling and drawing hand lettering in Adobe Illustrator more fun. In this tutorial, you’ll learn how to create a special shadow effect applied to a layer, so that anything you draw on that layer instantly takes on the shadow.
Working with the Appearance panel and live effects opens up more creative avenues in Adobe Illustrator. Effects can be applied to objects and groups, but did you know they can be applied to layers, too?
To understand the process fully, watch the tutorial video. These are the basic steps:

Clicking on the appearance target in the Layers panel in Illustrator
1- Target the layer
That circle in the Layers panel? That’s the appearance target. When you click it, you’ve targeted the appearance for the whole layer. Effects you add in the Appearance panel while the layer is targeted will be applied to anything you create on that layer. ⭐️ Like magic!

Pay attention to the order you stack attributes and effects in the Appearance panel in Adobe Illustrator
2-Next, add a stroke below the contents
In the Appearance panel, add a 10 point black stroke by clicking the Add Stroke button, then drag the stroke below the “Contents” level. Why? Because the Contents level in the Appearance panel represents everything on the layer, and we want the shadow effect to occur below the lettering and doodles.
3-Add a Transform effect to the Stroke
With the stroke selected, click the fx button and choose Transform. Use these settings for the effect:
15 copies
Move Horizontal: 1 pt
Move Vertical: -1 pt
Each copy of the black stroke will be moved rightward and upward by 1 pt. These overlapping copies create a drop shadow. You can adjust the number of copies and the spacing to suit your art, but if the spacing is too large, the copies won’t overlap.
⭐️ Layer effects can be tricky, so proceed with patience.
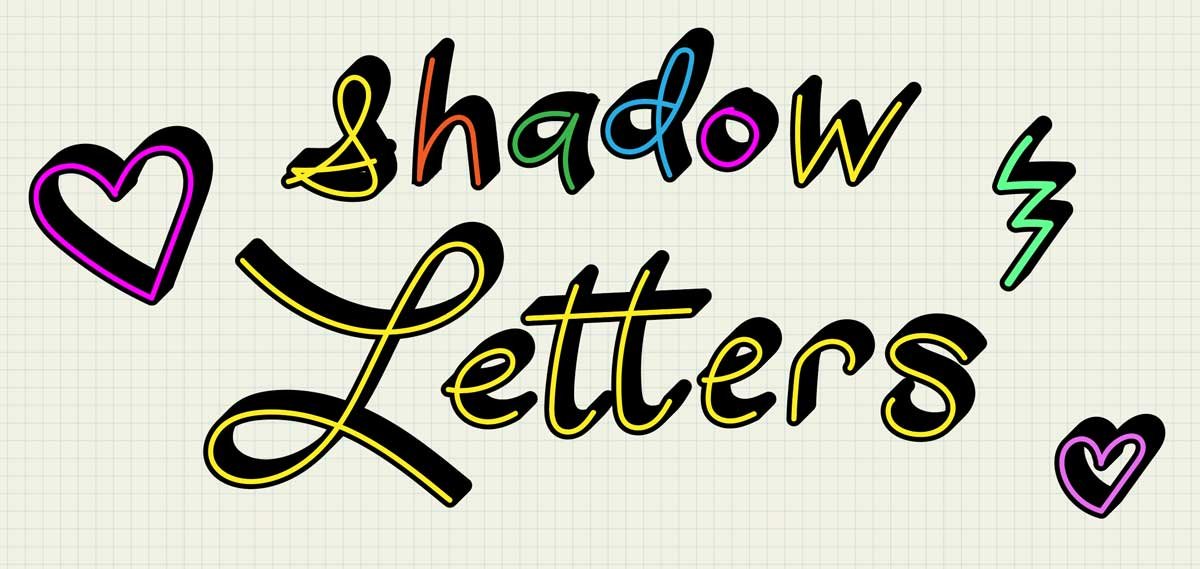
Drawing shadow lettering in Adobe Illustrator
Grab the Paintbrush tool and go!
Now grab the Paintbrush or the Blob brush. Then select a calligraphic brush tip from the Brushes panel. The one I’m using is the 5 point round brush that’s included in the default Illustrator document presets. If you choose a thicker brush stroke, you’ll need to adjust the stroke weight in the layer effect to make it thicker than your brush.
To expand or not expand?
You may want to expand the effect to give the finished art to another designer or client, or if you want to edit the art in a different way, and fill the drop shadow with a pattern fill, for example.
If you expand the appearance (Object > Expand Appearance) of anything on the layer, the appearance will be expanded for the whole layer and all the contents, so make a copy of the layer before expanding. The tutorial video gives a demonstration of this.
If you want to know more about expanding, here’s another video: Live vs. Expanded Art in Adobe Illustrator.
Give it a Try!
If you haven’t tried layer effects before, this tutorial will give you some practice. To make changes to the layer effect, click the target in the Layers panel, then return to the Appearance panel to make adjustments.
Have fun with layer effects and lettering in Adobe Illustrator! - Laura


